Introduction
WordPress is the world’s most popular content management system. It allows users to easily set up dynamic blogs and websites, and is a great choice for those who want to get a website up and running quickly. Users can manage their websites from an admin panel and have access to thousands of themes and plugins which take care of simple to complex tasks related to running and maintaining a blog or website.
In this guide, we’ll focus on setting up automatic backups of your website to an AWS S3 bucket.
Prerequisites
In order to complete this tutorial, you will need to register an AWS account, an existing WordPress installation, and a WordPress plugin called UpdraftPlus.
You will need to perform the following tasks before you can start this guide:

- Register an AWS account which will give you access to S3. You will be take advantage of AWS for 12 months, free of charge, following your initial sign-up date to AWS.
- Install UpdraftPlus – Backup/Restore : You can download the plugin and upload, then install it, or you can search for it and install it.
When you are finished with the setup steps, we are ready to begin.
Step 1 – Create an S3 bucket
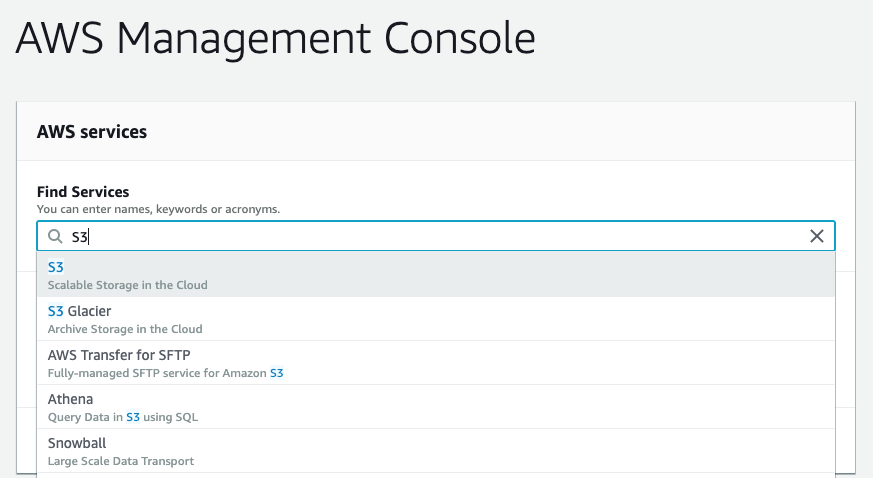
Once you have logged into your AWS account, you will be taken to the management console. Type “S3” into the find services search bar, then click on S3.
Name and region
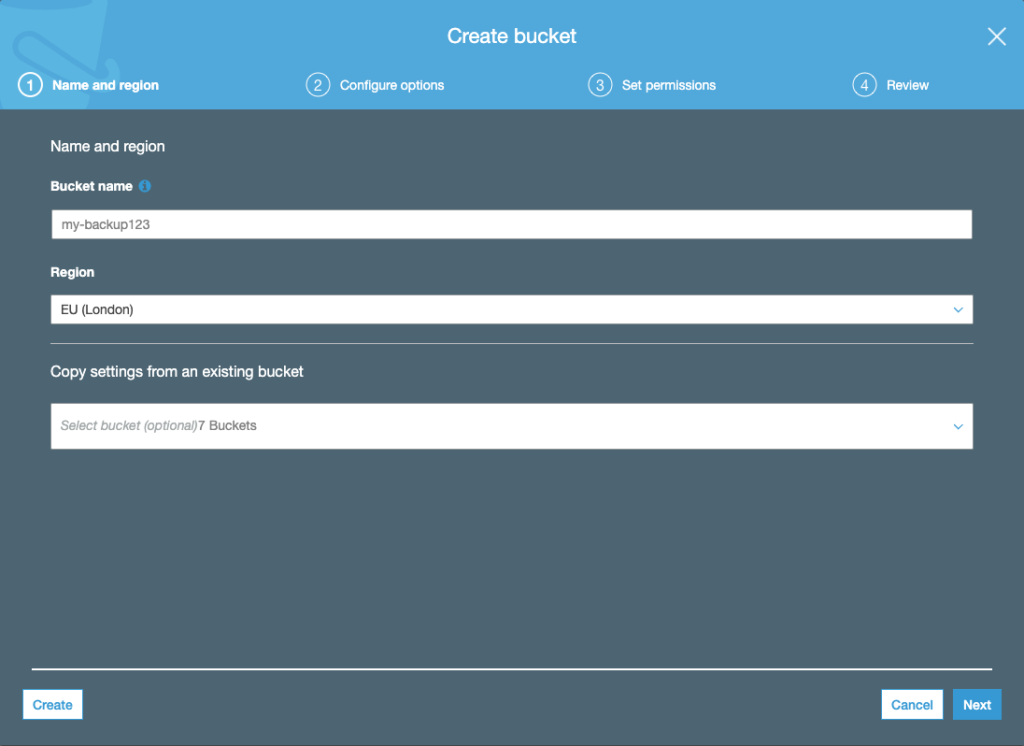
Next, you will want to click on “create bucket”. A popup will appear and you will need to give your bucket a name and select a region. Choose the region closest to you. Click next when you have done this.
Configure options
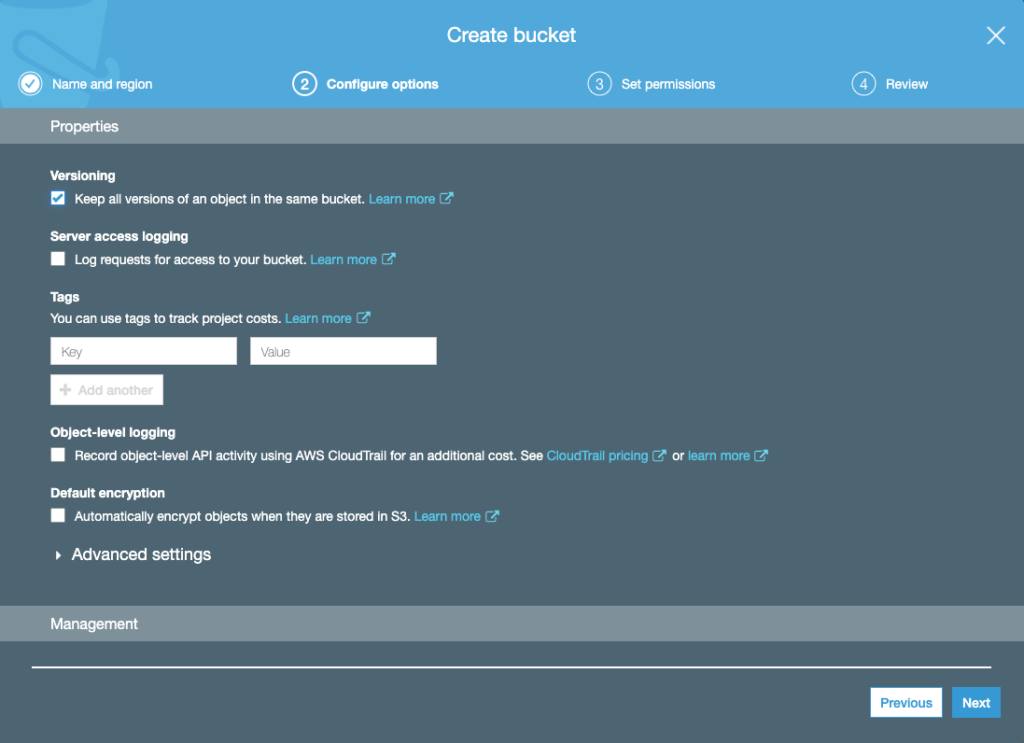
In this step you need to check the “keep all versions of an object in the same bucket” checkbox. When you have done this, click next.
Set permissions
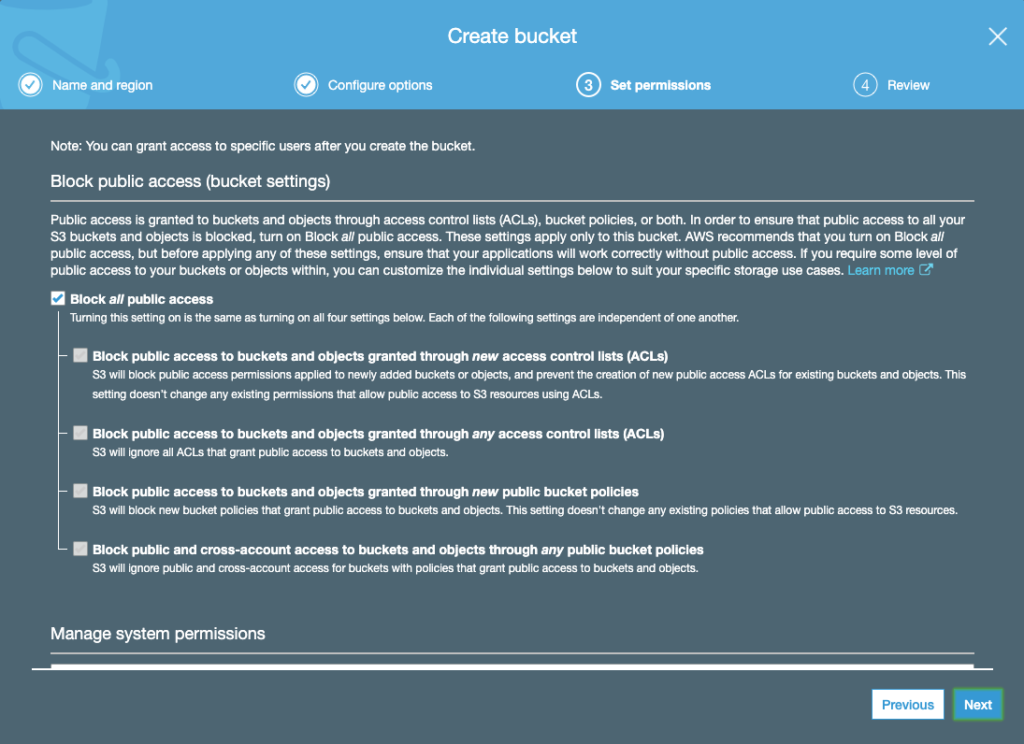
You don’t have to do much at this step, just make sure the “Block all pubic access” checkbox has been checked, then click next.
Review
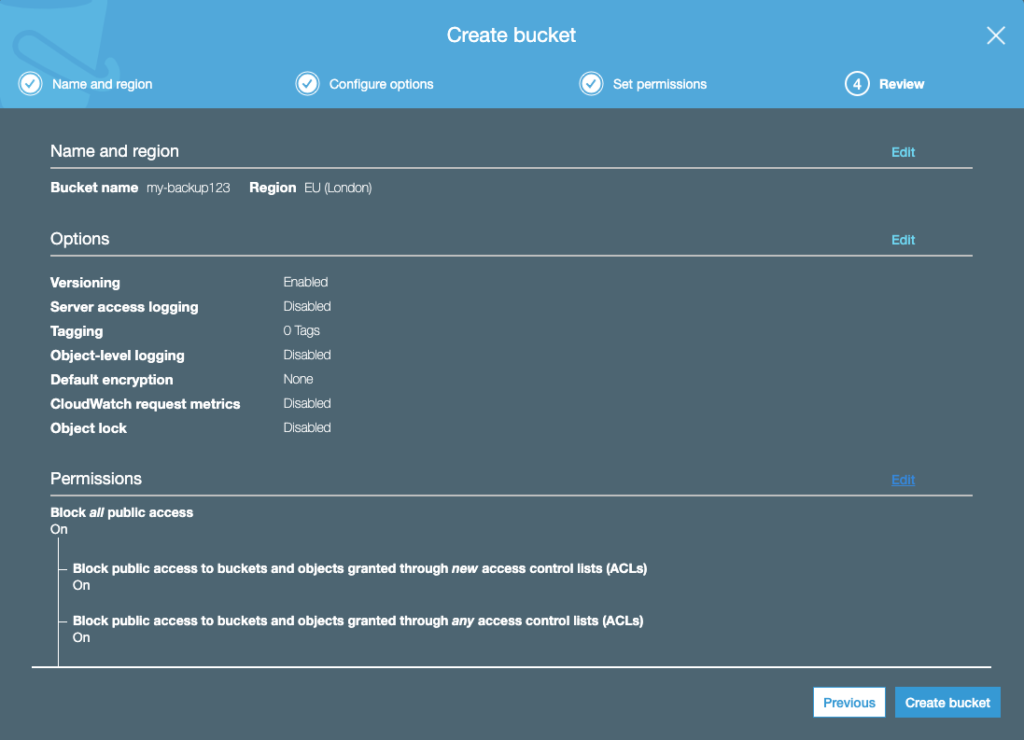
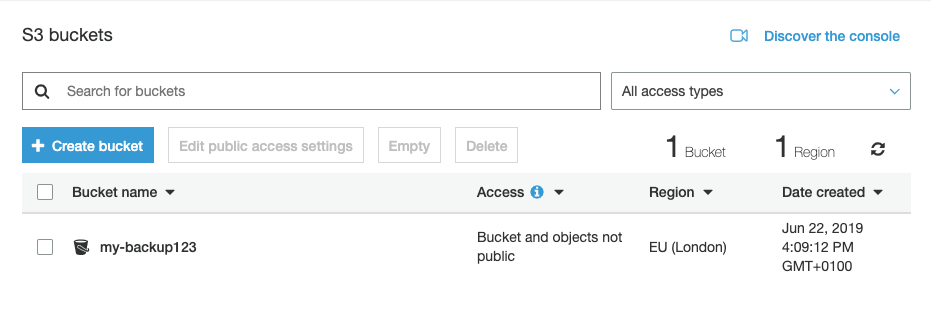
When you get to this step, just confirm the bucket name and region you have used are what you want. If you are happy with everything shown, then click “Create bucket”. You should now see your new bucket listed and ready to be used.
Step 2 – Create an IAM user and policy
AWS Identity and Access Management (IAM) is a web service that allows you securely control access to your AWS resources i.e. in this case, your S3 bucket. We are going set up a user that your Updraft plugin will use to access your S3 bucket.
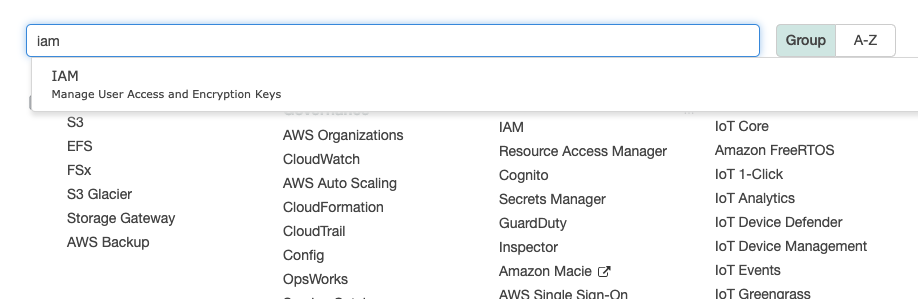
Go to the main page of the management console and type “iam” into the find services search bar, then click on IAM.
Create a policy
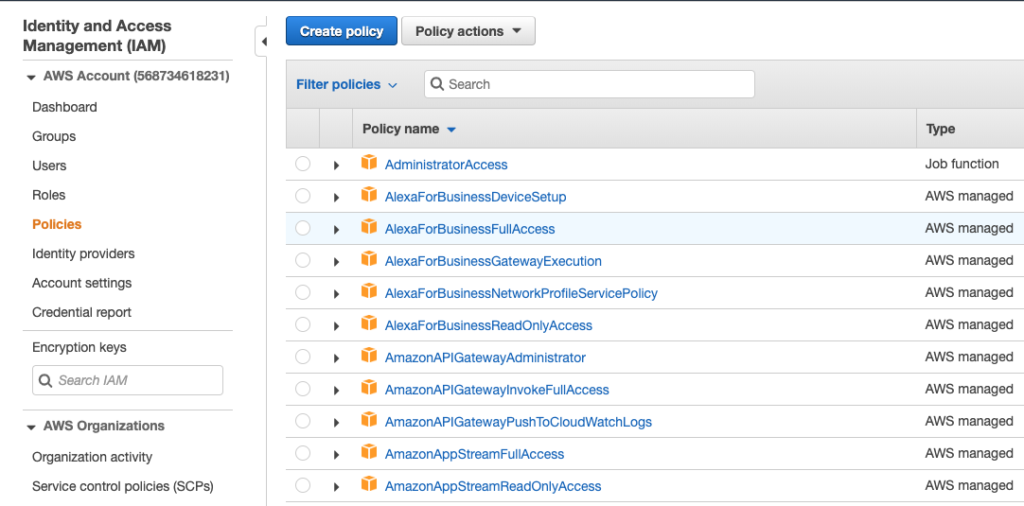
You then need to click on “Policies”, and then click on the blue button that says “Create policy”.
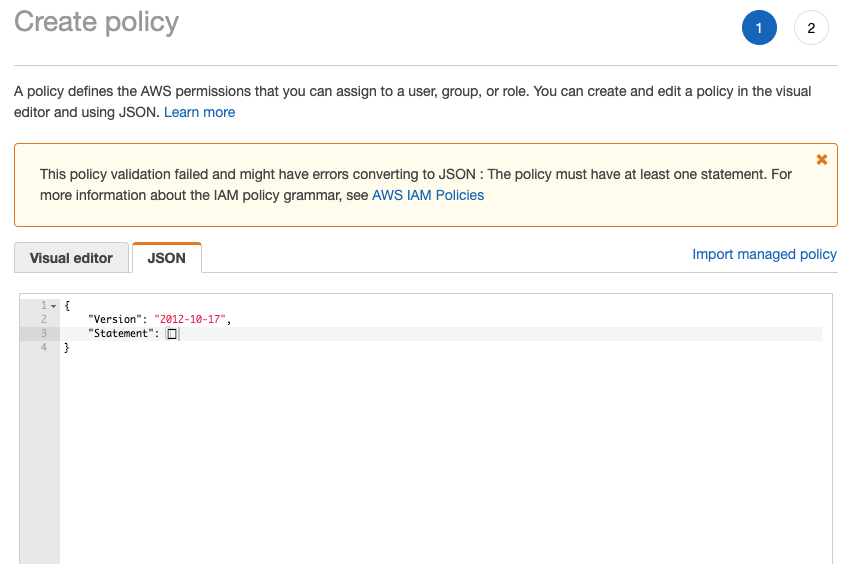
{
  "Version": "2012-10-17",
  "Statement": [
    {
      "Effect": "Allow",
      "Action": [
        "s3:AbortMultipartUpload",
        "s3:PutObject"
      "Resource": "arn:aws:s3:::my-backup123/*",
      "Condition": {}
    }
  ]
}
Next, click on the “JSON” tab and copy the JSON code above, and paste it into the box. Make sure you replace everything that is already there. Replace my bucket name, which is my-backup123, with the name you gave your bucket. Finally, click “review policy”.

Give your policy a name and then click “Create policy”.
Create a user
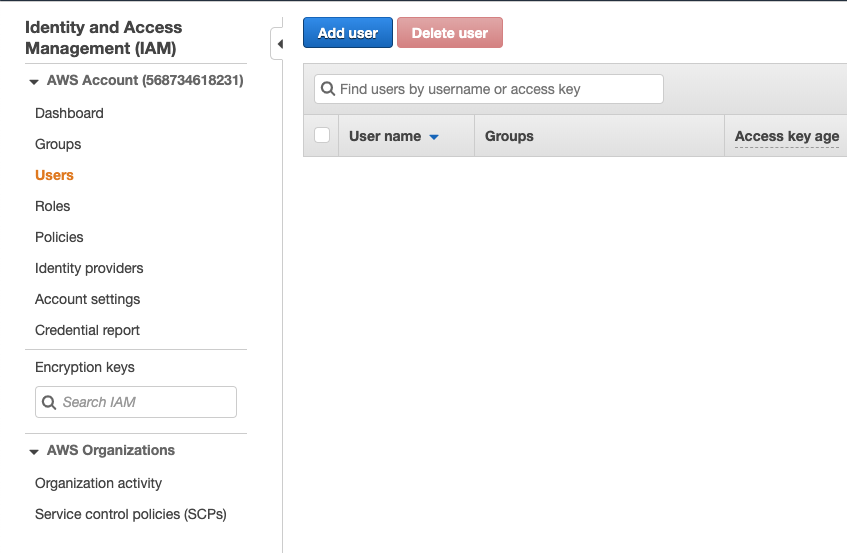
Click “Users” in the side menu, then click the blue “add user” button.
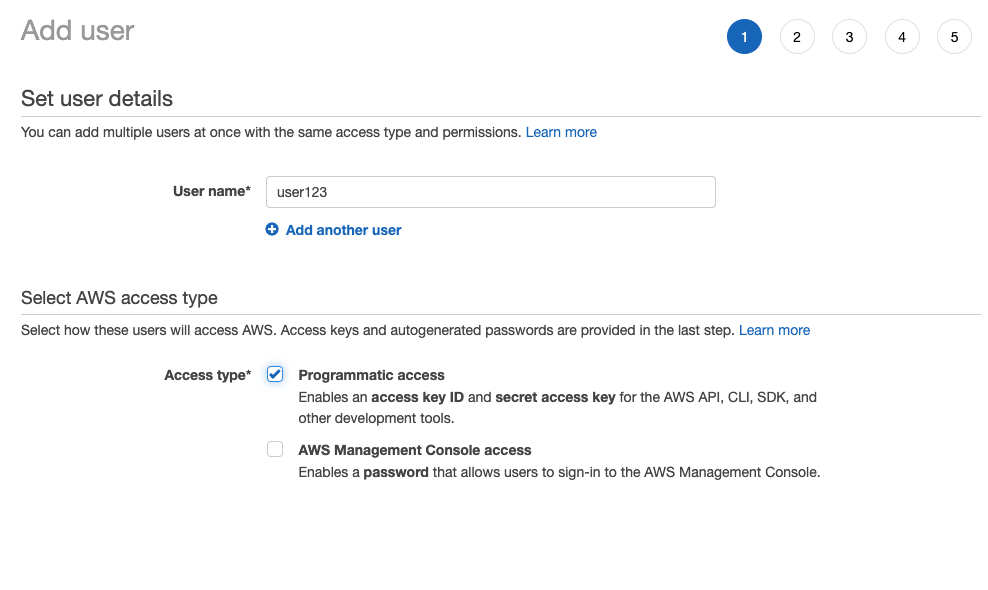
Type in your desired username, check the “programmatic access” checkbox, then click the next button to continue. The Updraft plugin will programmatically access your S3 bucket. No one will have to physically log into the AWS management console.
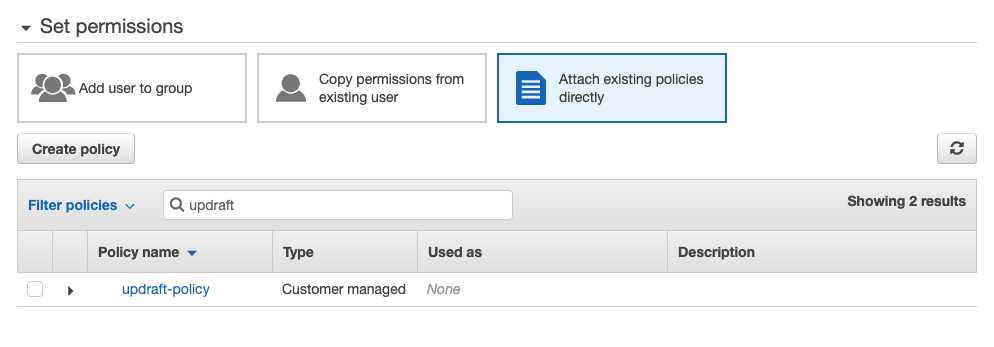
Now you need to attach the policy you created earlier to this user. Type the first few characters of the name you gave your policy into the search field. When the policy you created comes up, check the checkbox next to it then click next. You may skip the next step regarding tags, and review the user in the last step before finally clicking “Create policy”

Keep a copy of your Access key ID and your Secret access key. You will need them for the next step. The one used in the example will be inactive by the time you read this blog post. You must keep you keys private.
Step 3 – Setting up Updraft
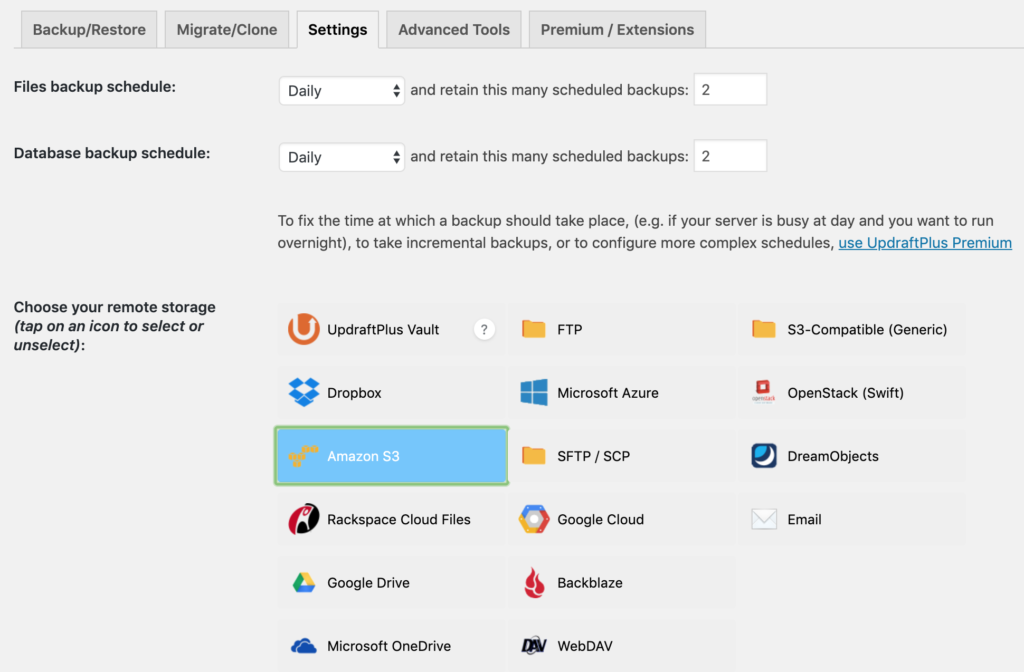
Go to the Updraftplus plugin and click on the “Settings” tab. Select how often you would like backups to take place. I have selected daily with the option of retaining 2 scheduled backups.
Click on Amazon S3, scroll down, then paste your S3 access and secret keys into the appropriate fields. Now, type your bucket name into the S3 location field and click Test S3 settings. If everything went OK, you should see a popup that states the test was successful.
Ignore the message that states that “Delete failed”. We purposely used a policy that permitted deleting from the bucket. Finally, click the “save changes” button.
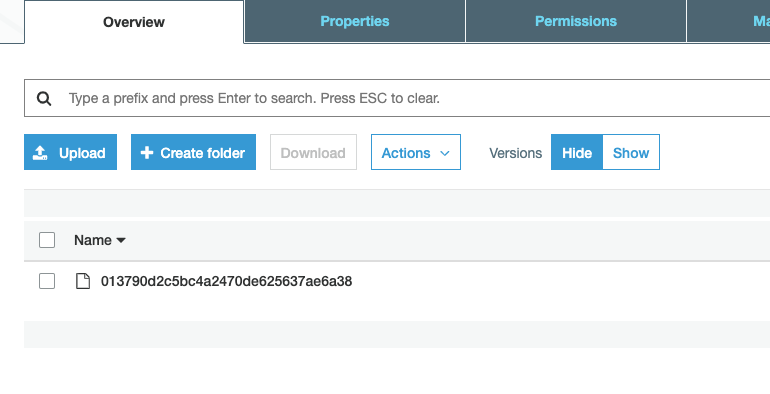
If you go back to your S3 bucket, you should see a file was uploaded. You can delete this. Feel free to leave a comment if you found this tutorial helpful.